
Vacation rental journal
How to Plan a Tuxedo Rental

By Sophie Grant
Renting a tuxedo can be a practical way to dress for a wedding, formal dinner or ceremony without buying clothes that may see little use. A successful rent
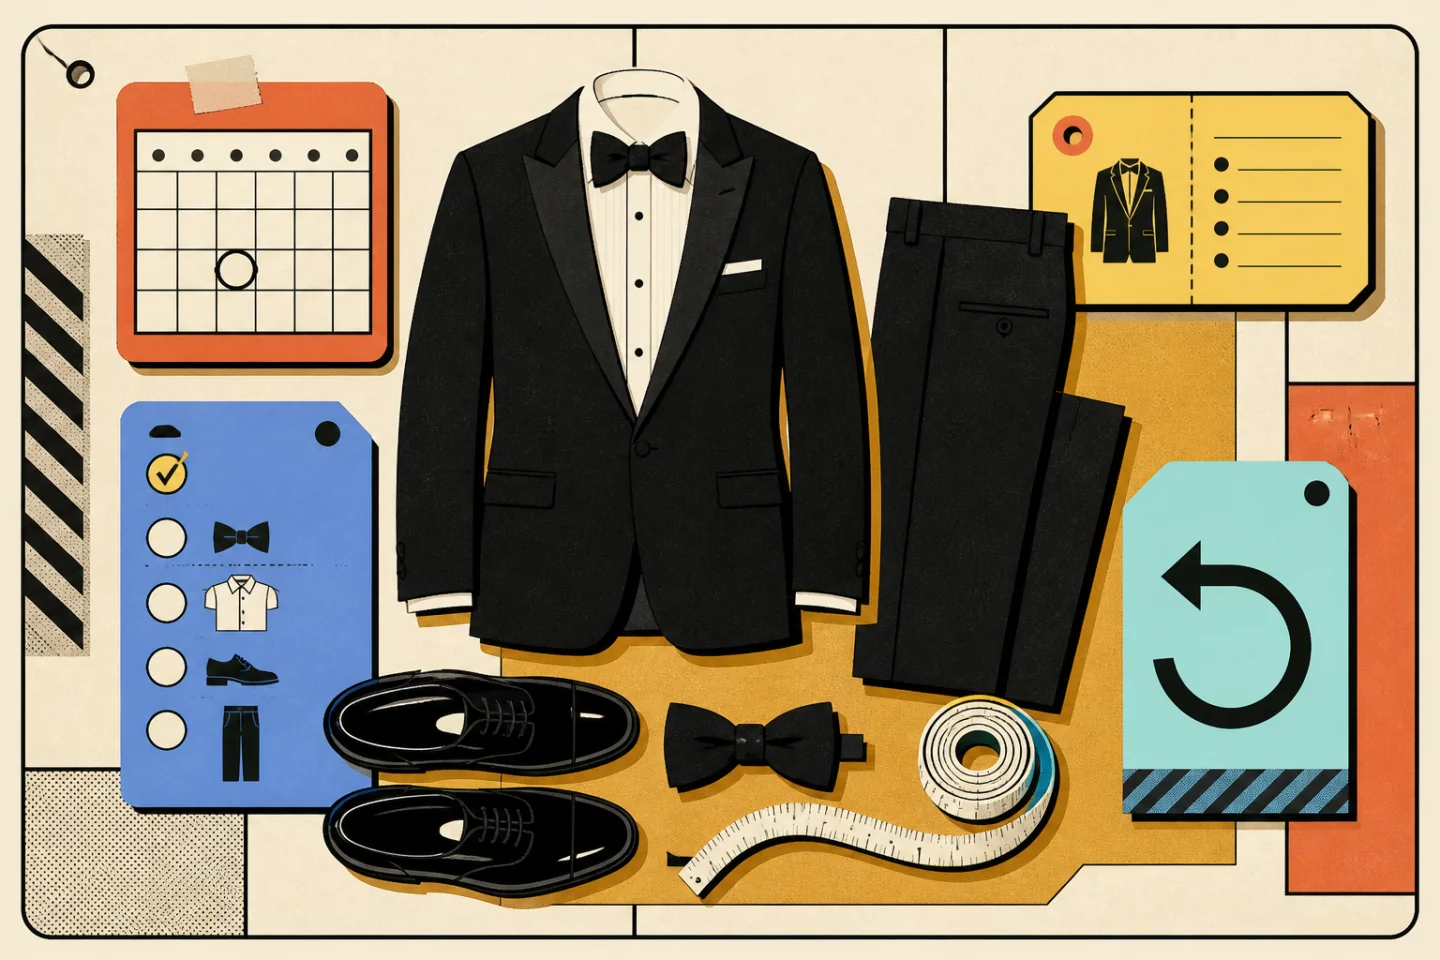
Renting a tuxedo can be a practical way to dress for a wedding, formal dinner or ceremony without buying clothes that may see little use. A successful rental depends less on chasing a particular label and more on choosing the right level of formality, getting an accurate fit and understanding what must be collected and returned.
Start with the invitation and any instructions from the organiser. Then work through the outfit, fitting and collection details in a fixed order. This approach helps individuals and groups avoid mismatched accessories, missing garments and uncomfortable last-minute surprises.
Begin with the dress code
The stated dress code should guide every choice. For black tie, the conventional outfit is a black or midnight-blue dinner jacket with matching trousers, a white formal shirt, a black bow tie and polished black shoes. Satin-faced peak or shawl lapels are traditional. A business suit, long tie or coloured waistcoat may look smart, but it is not the usual black-tie uniform.
For a formal or cocktail event, a dark suit may be appropriate instead. Daytime weddings sometimes allow lighter grey, blue or tan suits, particularly in warm weather, but the invitation takes priority over seasonal preference. If the wording is unclear, ask the host rather than guessing.
Browse tuxedo styles for formal events to compare lapel shapes, jacket colours and accessory combinations. Treat examples as visual references, not as permission to depart from the event instructions.
Choose a complete outfit
A rental normally centres on a jacket and matching trousers. Depending on the selected package, the order may also include a shirt, waistcoat or cummerbund, tie, pocket square, cufflinks, studs, socks and shoes. Do not assume that an item shown in a styled photograph is included.
Ask for a written list of every rented piece. Check whether the shirt and footwear are part of the order, and note which accessories you must provide yourself. For black tie, keep the details restrained: a black bow tie, simple shirt front and black socks allow the jacket to carry the formal character.
Comfort matters as much as appearance. Consider the likely temperature, time spent outdoors and amount of walking or dancing. A well-fitted, seasonally sensible outfit will look better late in the day than a fashionable choice that feels restrictive or overheated.
Coordinate a wedding party
The couple or organiser should define the shared elements before anyone orders. Record the jacket and trouser colour, lapel style, shirt, tie, waist covering, pocket square and footwear. A reference photograph can help, but a written specification is easier to check.
If one person is meant to look distinct, change only one or two controlled details, such as the tie or buttonhole, rather than creating an unrelated outfit. Each member should be linked to the correct event record and should confirm that the same style codes or descriptions appear on the order.
People may be measured in different places, so the organiser should keep a simple checklist of who has ordered and who still needs a fitting. Avoid circulating body measurements in a group message; each wearer can give them directly to the rental provider.
Get the fitting right
An appointment is useful when the wearer does not know their formalwear size or wants to compare cuts. Some providers allow customers to book a formalwear rental appointment. Check what the appointment covers before travelling.
A fitting commonly considers chest, waist, seat, neck, sleeve, inside leg and shoe size. Measurements are only a starting point because garments with the same labelled size can sit differently. Try on the closest available combination and assess the whole silhouette.
Check the jacket
The shoulder seam should end near the natural shoulder, without a ridge or deep hollow. The collar should sit against the shirt collar rather than lifting away. When buttoned, the jacket should close without a strong X-shaped pull across the front. Sleeves should leave a small, even amount of shirt cuff visible.
Check the trousers and shirt
Trousers should stay at the intended waist without pinching, sagging or relying on a belt that the outfit does not use. The seat should lie smoothly, and the hem should meet the shoe cleanly without a large pile of fabric. Sit, walk and climb a few steps to test movement.
The shirt collar should close comfortably with room to breathe and turn the head. Its sleeves must be long enough to remain visible beneath the jacket. Check that a waistcoat covers the waistband when standing and that a cummerbund sits securely with its pleats facing upwards.
Plan collection and a final try-on
Ask the provider when the outfit will be available and how fit problems are handled. Do not rely on a remembered conversation: keep the order confirmation and note the agreed collection method. Group members should know whether each outfit is collected individually or by one nominated person.
Try on every item together as soon as the rental is received. Wear the intended socks and shoes, fasten the shirt and tie, button the jacket and empty all packaging. A garment can appear correct on a hanger yet reveal a short sleeve, tight collar or incorrect trouser length when worn.
Use this check before leaving:
- Confirm the jacket, trousers and shirt match the order.
- Check the tie, waist covering, pocket square and jewellery.
- Inspect shoes for the correct size and matching pair.
- Move, sit and raise the arms without severe restriction.
- Report missing, marked or ill-fitting pieces promptly.
Do not attempt permanent alterations to rented clothes. If something is wrong, contact the provider and follow its instructions. Keep all garment bags, boxes and labels because they may be needed for transport or return.
Understand the agreement
Read the written agreement before accepting the order. Confirm the included garments, collection arrangement, return method and condition requirements. If an optional service is offered, ask what it covers and ensure the answer appears in the paperwork. Do not assume that damage, loss or delay is handled in a particular way.
Official rental terms provide an example of the detailed conditions a provider may publish. Your own agreement governs your order, so save the version supplied at booking and ask for clarification before the event if any wording is uncertain.
Protect the outfit during the event
Hang the jacket on a supportive hanger when it is not being worn. Keep drinks, make-up and sharp decorations away from the fabric, and avoid placing the outfit on a damp floor or crowded chair. Do not iron, wash, dry-clean or repair a rented garment unless the provider expressly instructs you to do so.
Empty the pockets after the event. Gather the entire outfit in one place and compare it with the item list. Small pieces such as studs, cufflinks and pocket squares are easiest to overlook, while shoes may be left beneath a table or in a changing room.
Return every item correctly
Follow the return method and deadline shown in the agreement. An in-person return and a shipped return may require different packaging or proof of handover. The published rental return policy illustrates the sort of instructions worth checking, but it does not replace the terms attached to your order.
Before handing the rental back, complete one final inventory:
- Jacket and matching trousers.
- Shirt and any waistcoat or cummerbund.
- Tie, pocket square, studs and cufflinks.
- Shoes, garment bag and reusable packaging.
Report a missing or damaged piece rather than hiding it or attempting a repair. Return the remaining items as directed and keep the dated shop receipt, carrier receipt or tracking record until the provider confirms completion.